Most users end up discovering this issue when they try to run a Sysprep command. As it turns out, the issue occurs due to a bug that causes the upgrading setup to badly migrate the Windows.MiracastView_6.3.0.0_neutral_neutral_cw5n1h2txyewy. Because of this, the MiracastView package will not function properly once the Windows upgrade is complete. From what we gathered, the most common scenario when this might happen is when the user tries to upgrade to Windows 10 version 1709 from Windows 10 version 1703. Although the upgrade will complete successfully, any Sysprep command will fail unless repair strategies are applied. If you’re currently struggling with the same MiracastVIew issue, the methods below might help. Below you have a collection of fixes that other users have used in order to resolve the issue. Please follow each method in order until you encounter a fix that resolves the problem in your particular scenario. Let’s begin.
Method 1: Copying the old MiraastView folder into the current Windows directory
In the event that you only upgraded recently and you have kept a backup with the old Windows 10 version (build 1703), you can remove the error with one simple trick. You can access the backup containing the old build and copy the old C:\ Windows \ MiracastView folder. Then, paste it in your current C:\ Windows directory and restart your computer. This will accomplish the purpose of letting the background AppReadiness process to delete the package files that were badly migrated. Note: If you don’t have a backup with your old Windows build, you can also get the old C:\ Windows \ MiracastView folder from another computer that has MIracastView as a built-in app installed by default. Simply copy the whole folder on a USB stick, paste it in your current Windows directory and you are good to go. If this method wasn’t applicable or unsuccessful in resolving the error caused by MicracastView, continue downwards with the next method.
Method 2: Copying the w5n1h2txyewy.xml file from Windows.old to AppRepository
If you only upgraded recently, another possible fix is to copy the clean version of Windows.MiracastView_6.3.0.0_neutral_neutral_cw5n1h2txyewy.xml from the Windows.old folder. Unless you deleted the folder manually, Windows is configured to preserve the old Windows folder for 30 days with the .old extension. Some users have managed to resolve the issue by copying the old Windows.MiracastView_6.3.0.0_neutral_neutral_cw5n1h2txyewy.xml to C:\ProgramData\Microsoft\Windows\AppRepository. Here’s a quick guide on how to do this: If you’re still seeing MiracastView errors, continue with the next methods below.
Method 3: Removing a leftover registry key that is causing the error
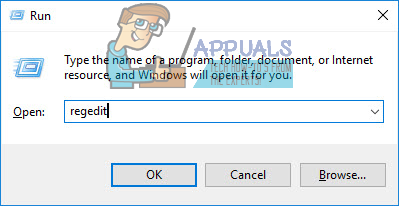
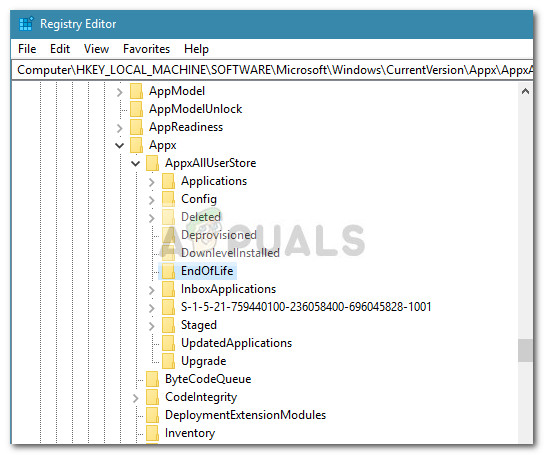
Some users that have encountered MiraCastView errors after upgrading to Windows 10 version 1803 have managed to resolve them by removing a rogue registry key that appears to have been badly migrated during the upgrade process. Here’s a quick guide on how to do this: If you’re still seeing errors that point towards MicracastView, continue with the method below.
Method 4: Removing the MiracastView package via Psexec and DB Browser
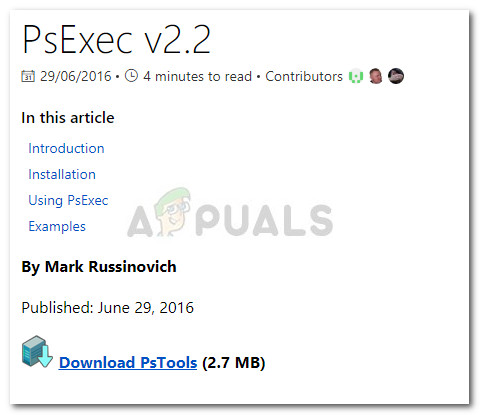
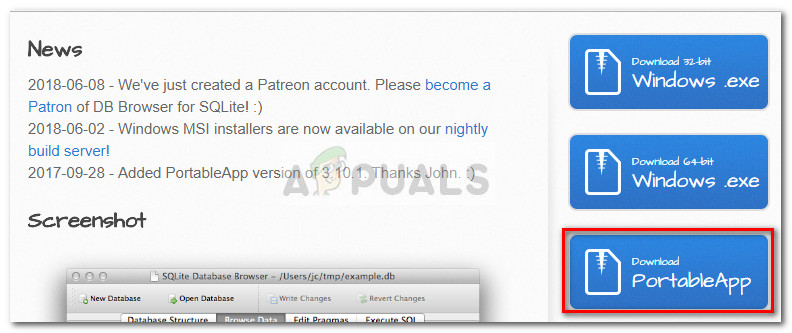
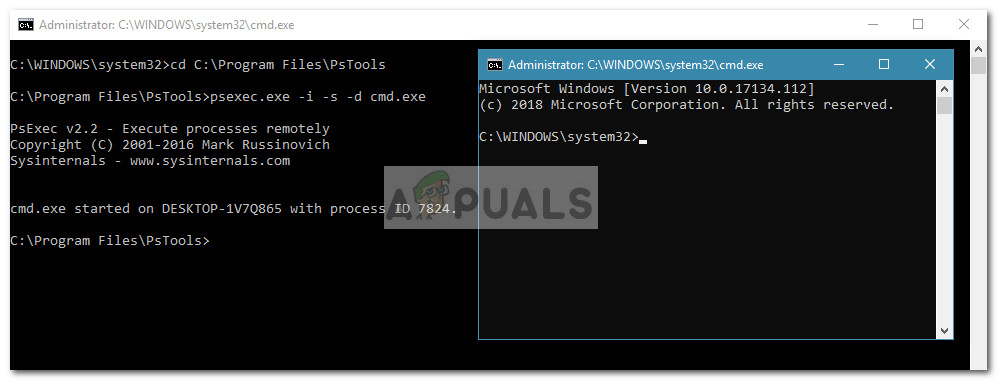
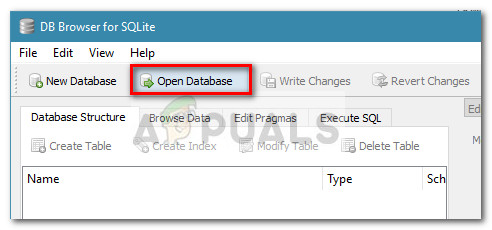
If you’ve come this far without a result, you are virtually left with no choice than to remove the MiracastView package for good. Unfortunately, Microsoft has made it impossible to remove MiracastView through Command Prompt or Powershell. Because of this, we’ll need to use a couple of tools that will allow us to uninstall the MiracastView application for good in order to prevent the errors from appearing. Here’s a complete guide with all the steps necessary to remove the MiracastView package:
FIX: Microphone Not Working After Windows 10 UpgradeSOLVED: File Explorer Not Loading or Loading Slowly After Windows 10 UpgradeFIX: Skype Freezing on Startup After RAM UpgradeRyzen 5 3600 Boot Loop after CPU Upgrade
