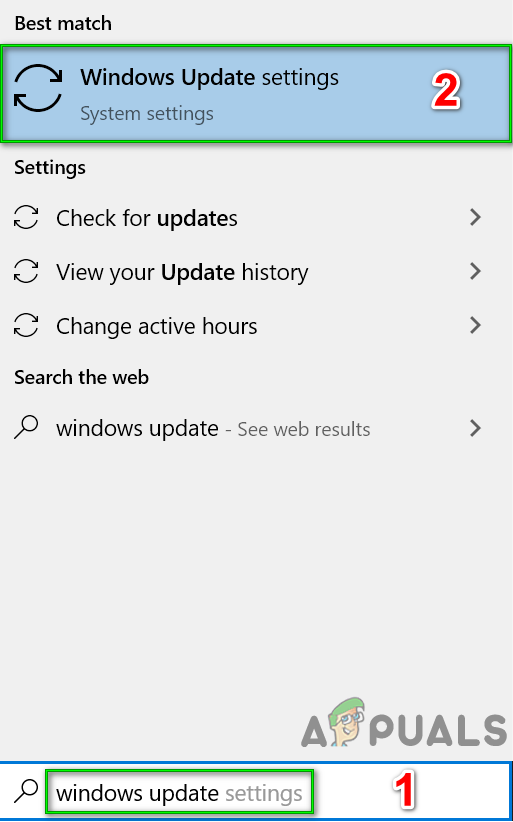
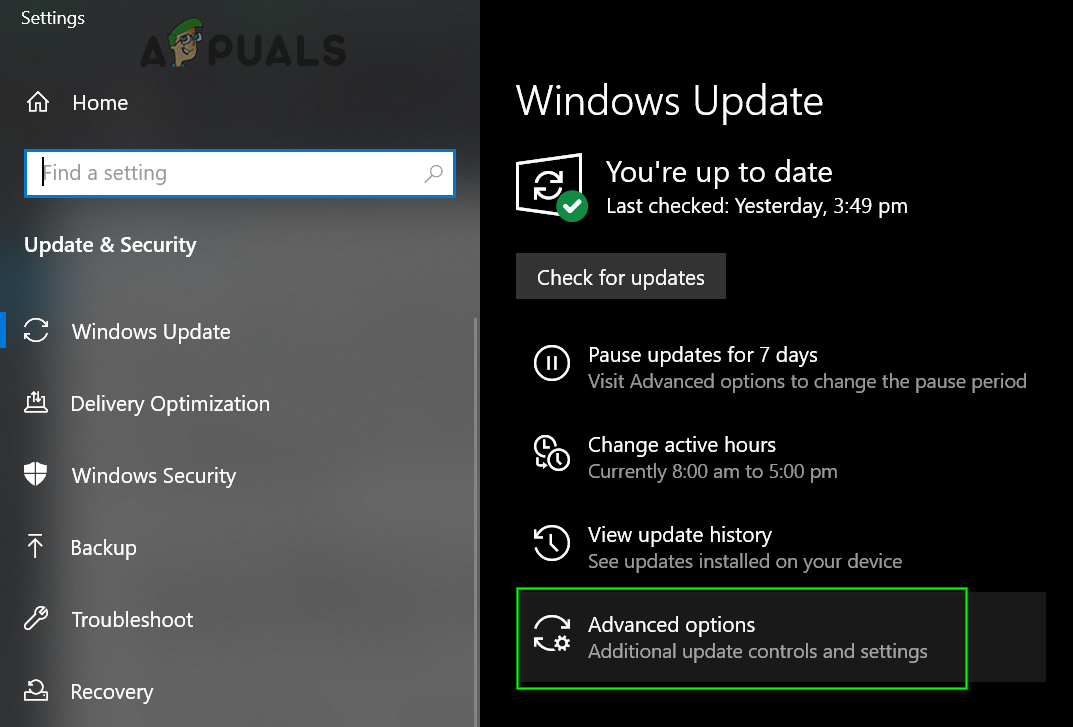
However, System Host: Local System (Network Restricted), in and of itself, is pretty ambiguous as it is not anyone service but a guise under which many different Windows system services run, any of which could be causing unusually high CPU and/or Disk usage. Besides, to make things worse, this issue can also be caused by a memory leak in the non-paged pool of memory. Thankfully, due to a lot of intelligent dwelling on the matter, it has been found that the most common offender that gives birth to this issue is a Windows system service known as Superfetch – a service that Microsoft claims aims to maintain and improve the performance of computers as time goes by but, in actuality, is nothing but a problem waiting to happen. If, in any case, Superfetch is not the root of the issue, it is certainly being caused by a memory leak in the non-paged pool. But before moving on with the solutions, make sure your system’s Firewall is not blocking any important service/application. Also, temporarily disable Windows updates to check if they are creating the problem.
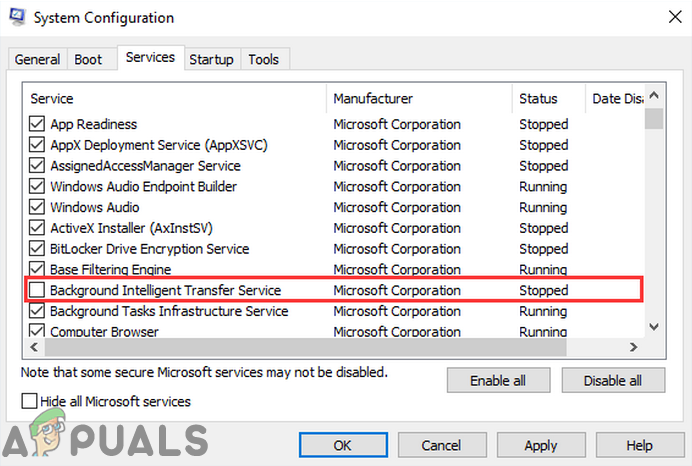
1. Disable the Superfetch Service and Background Intelligent Transfer Service
Superfetch and Background Intelligent Transfer Service are services which perform a major role in speeding up your applications and other services running in the background. It basically manager several modules running side-by-side and efficiently schedules them. However, they might sometimes malfunction or not get in sync properly which will cause the high CPU usage. Disabling them might solve the issue.
2. Fix the Memory Leak in the Non-Paged Pool of Memory
If Solution 1 doesn’t work, don’t fret as you can still move onto this solution. To try and resolve this issue using this solution, you need to:
3. Running the System File Checker
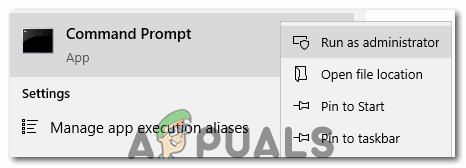
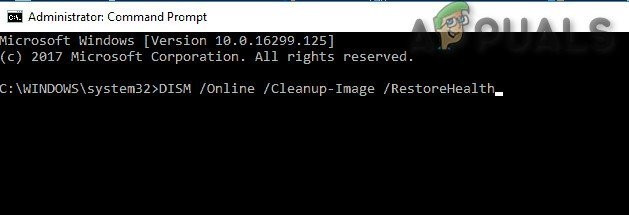
System File Checker (SFC) is an in-built tool which downloads a manifest of all the essential files from the internet and compares them to the version present in your computer. If it finds any discrepancies, it will automatically download the latest version from the internet and replace it. Running SFC might resolve the high CPU if there is an issue with your system files.
4. Killing SVChost
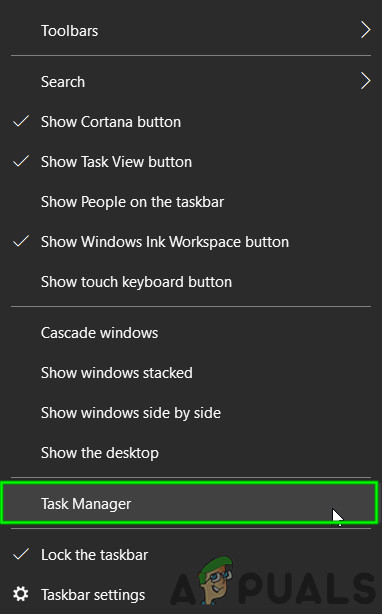
Killing the Service Host (SVChost) process in the Task Manager solves this issue. After this, try to download your pending updates with an unmetered Wi-Fi connection.
5. Performing a Clean Boot
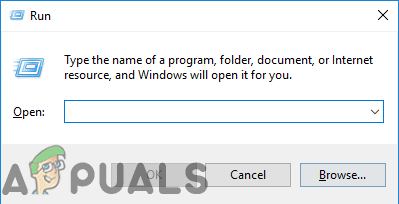
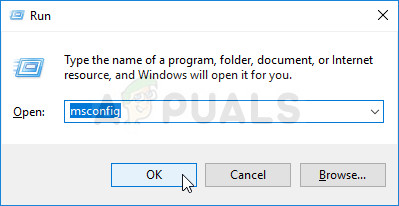
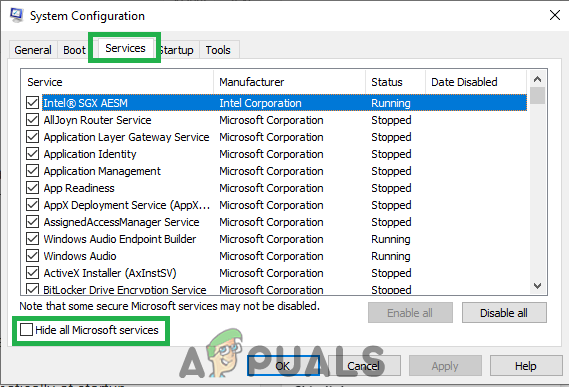
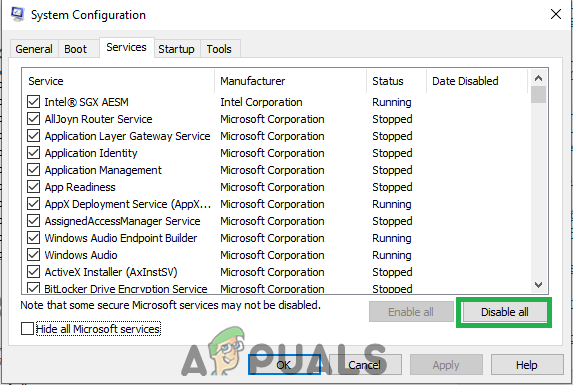
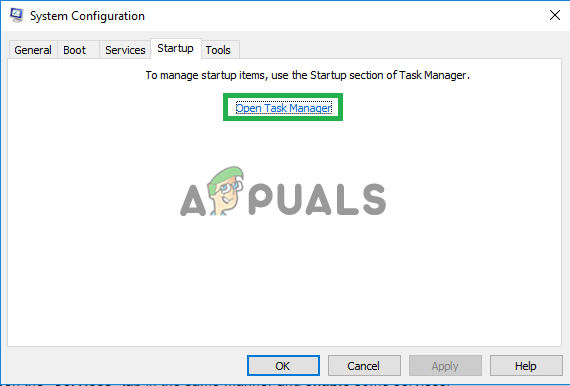
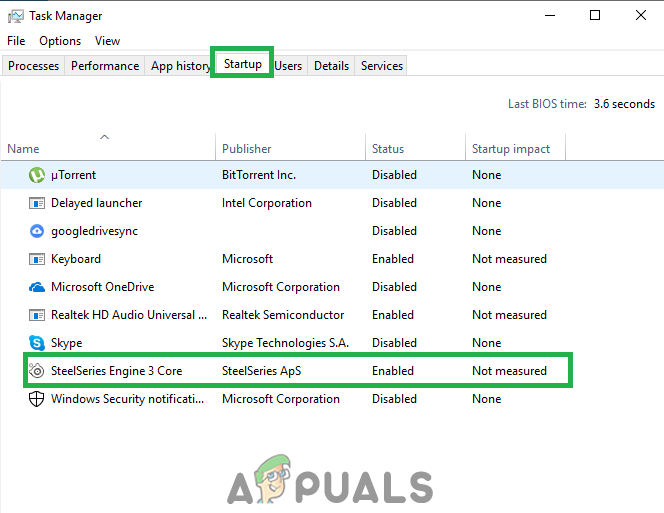
In some cases, a third-party application or service might be causing High Cpu usage. Therefore, in this step, we will be disabling all non-essential services and applications at startup i.e. clean boot the system. You have to find what application/driver is causing the issue but the following applications are known to create the problem you are facing. To clean boot your system:
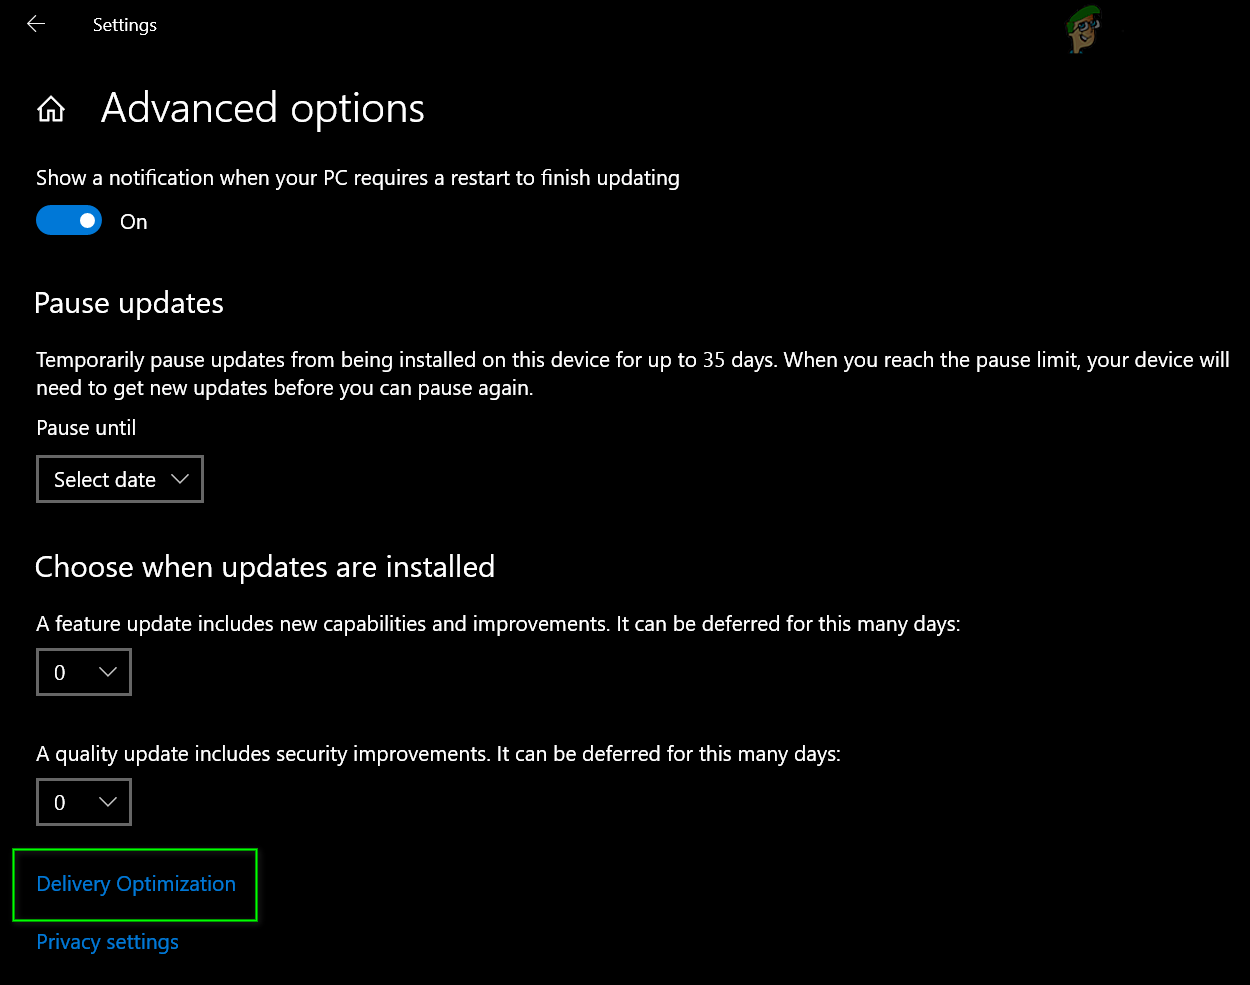
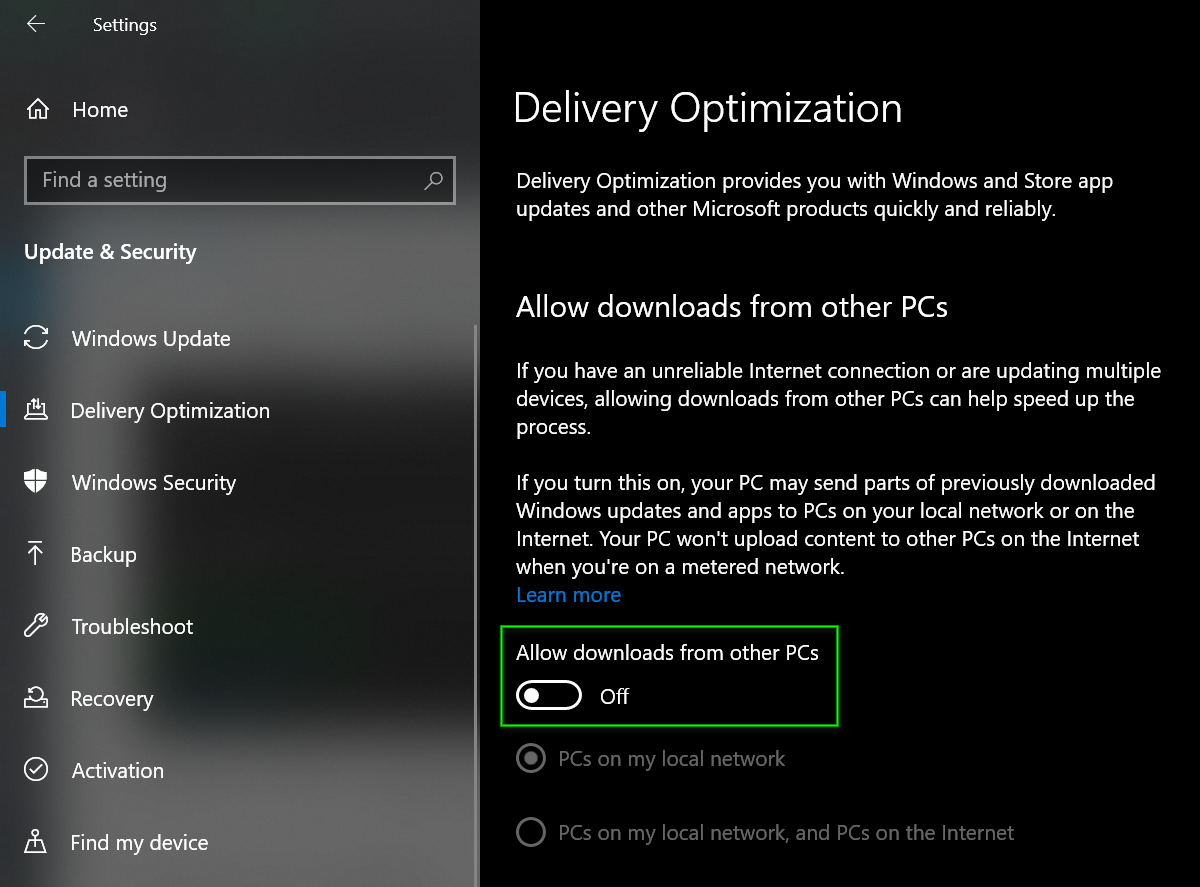
6. Disable Windows Update Delivery Optimization
Windows update uses delivery optimization to speed up processes. But this delivery optimization can be stuck in operation and cause the High CPU Usage by Service Host. In that case, turning off delivery optimization may solve the problem. You might notice some effect in the speed and in particular, the optimization of Windows update but it is a fair trade-off to remove the high CPU usage.
7. Restarting Windows Update services
If the methods shown above haven’t helped you, it’s possible that your Windows Update is stuck doing an update which can lead to high CPU and Disk Usage spikes. Follow these steps below:- If nothing has helped you so far, then run the chkdsk command to fix any issues with the system’s hard drive.
[FIX] Service Host: Diagnostic Policy Service High CPU & Memory UsageWhat is ‘Modern Setup Host’ and How to Fix High Disk Usage by Modern Setup Host?Fix: High Disk or CPU Usage “Service Host Delivery Optimization"DISM Host Servicing Process High CPU Usage? Here’s how to fix
